[I Impulse Bought a 3D Printer]
[Dec 16th, 2024]
I'm a computer engineer, so even with the BEng designation, I have never really had to 3D CAD anything [except for one bad attempt during university]. But I always thought it would be useful to learn, so I gave it a shot.
I was scrolling through Facebook marketplace a few months ago, when I stumbled upon an ad selling a used 3D printer. It was an Ender3, with the seller wanting $60 (Canadian) for it. I really didn't have an immediate need for one, but the price was pretty attractive. I justified buying it by remembering that I had recently tried to make a hole in a plastic project box by using my soldering iron, ruining its tip and filling my apartment with gross melted plastic fumes. It'd probably just be easier to print one right? So I went to go pick it up right after work.
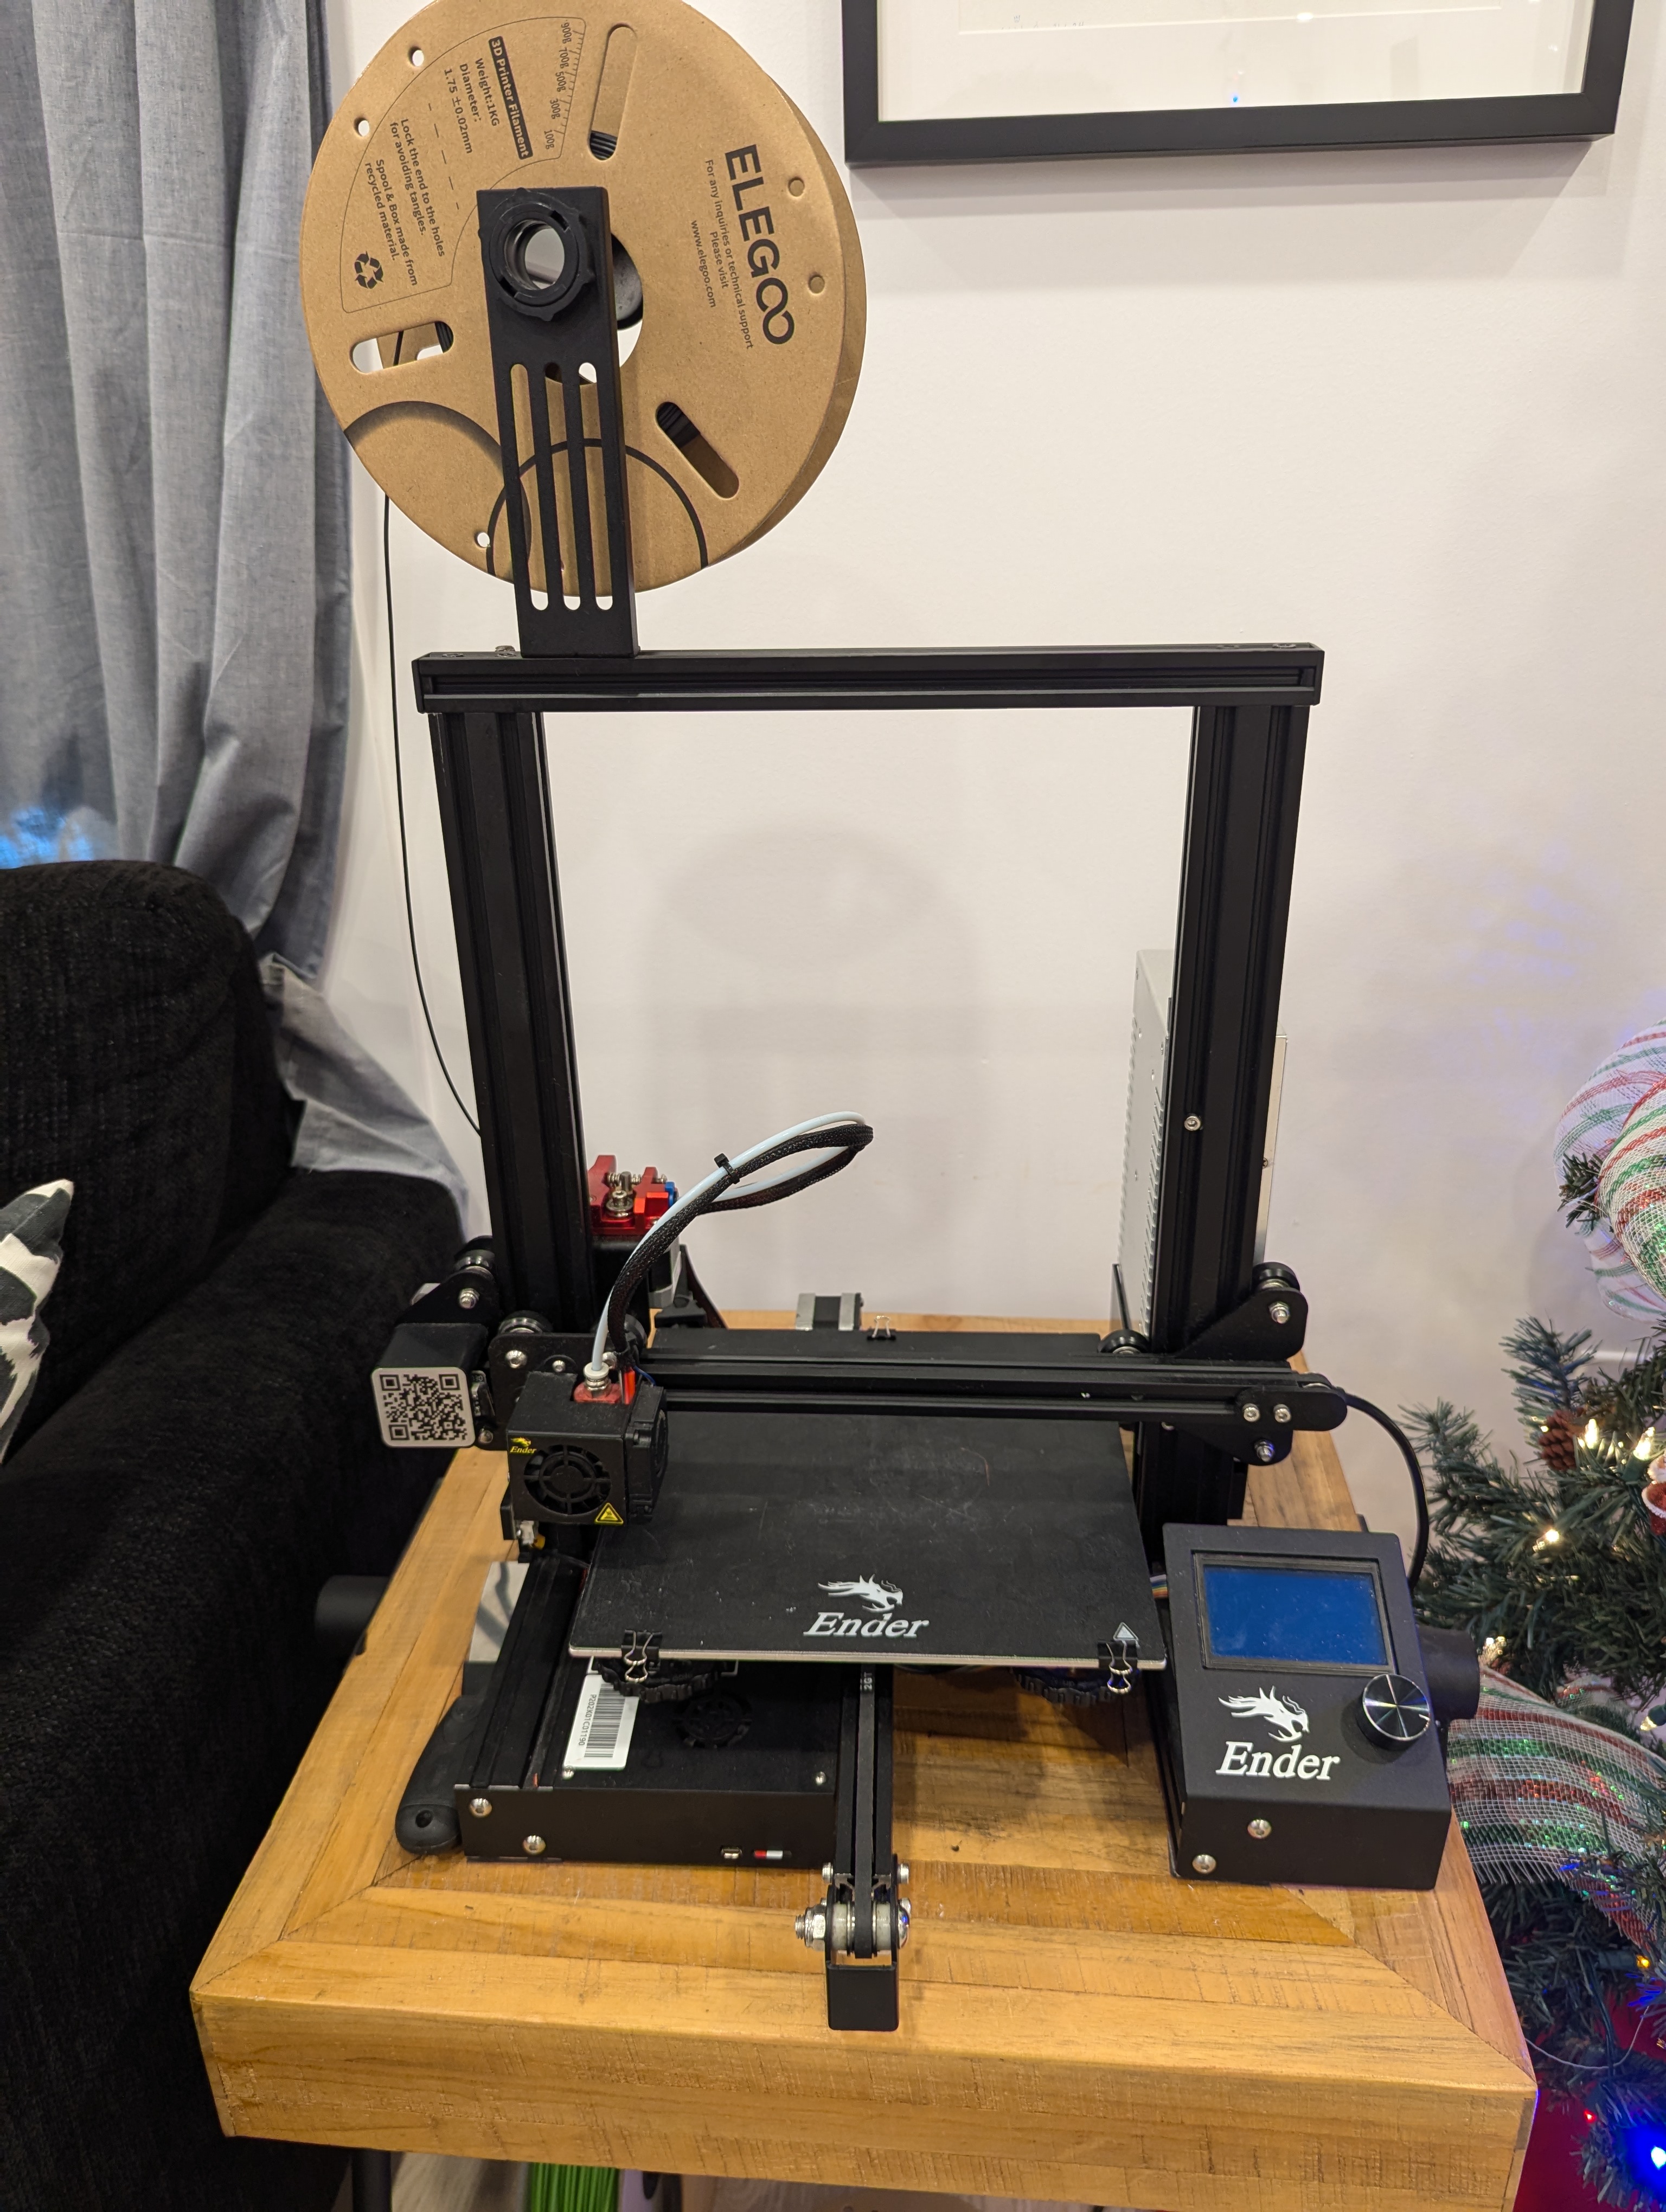
I bought it home and immediately looked up some videos on how to set it up. I cleaned up some of the gunk on it, and leveled the print bed. Then, I ordered some cheap PLA filament and patiently waited for it to arrive to try and print something. The typical thing that people print to test their printer is the [3DBenchy], but I got too excited and tried to print this [Kirby] instead. So, I downloaded the model, loaded it into Cura to slice it, and transfered the object file to the printer. Here was the result:
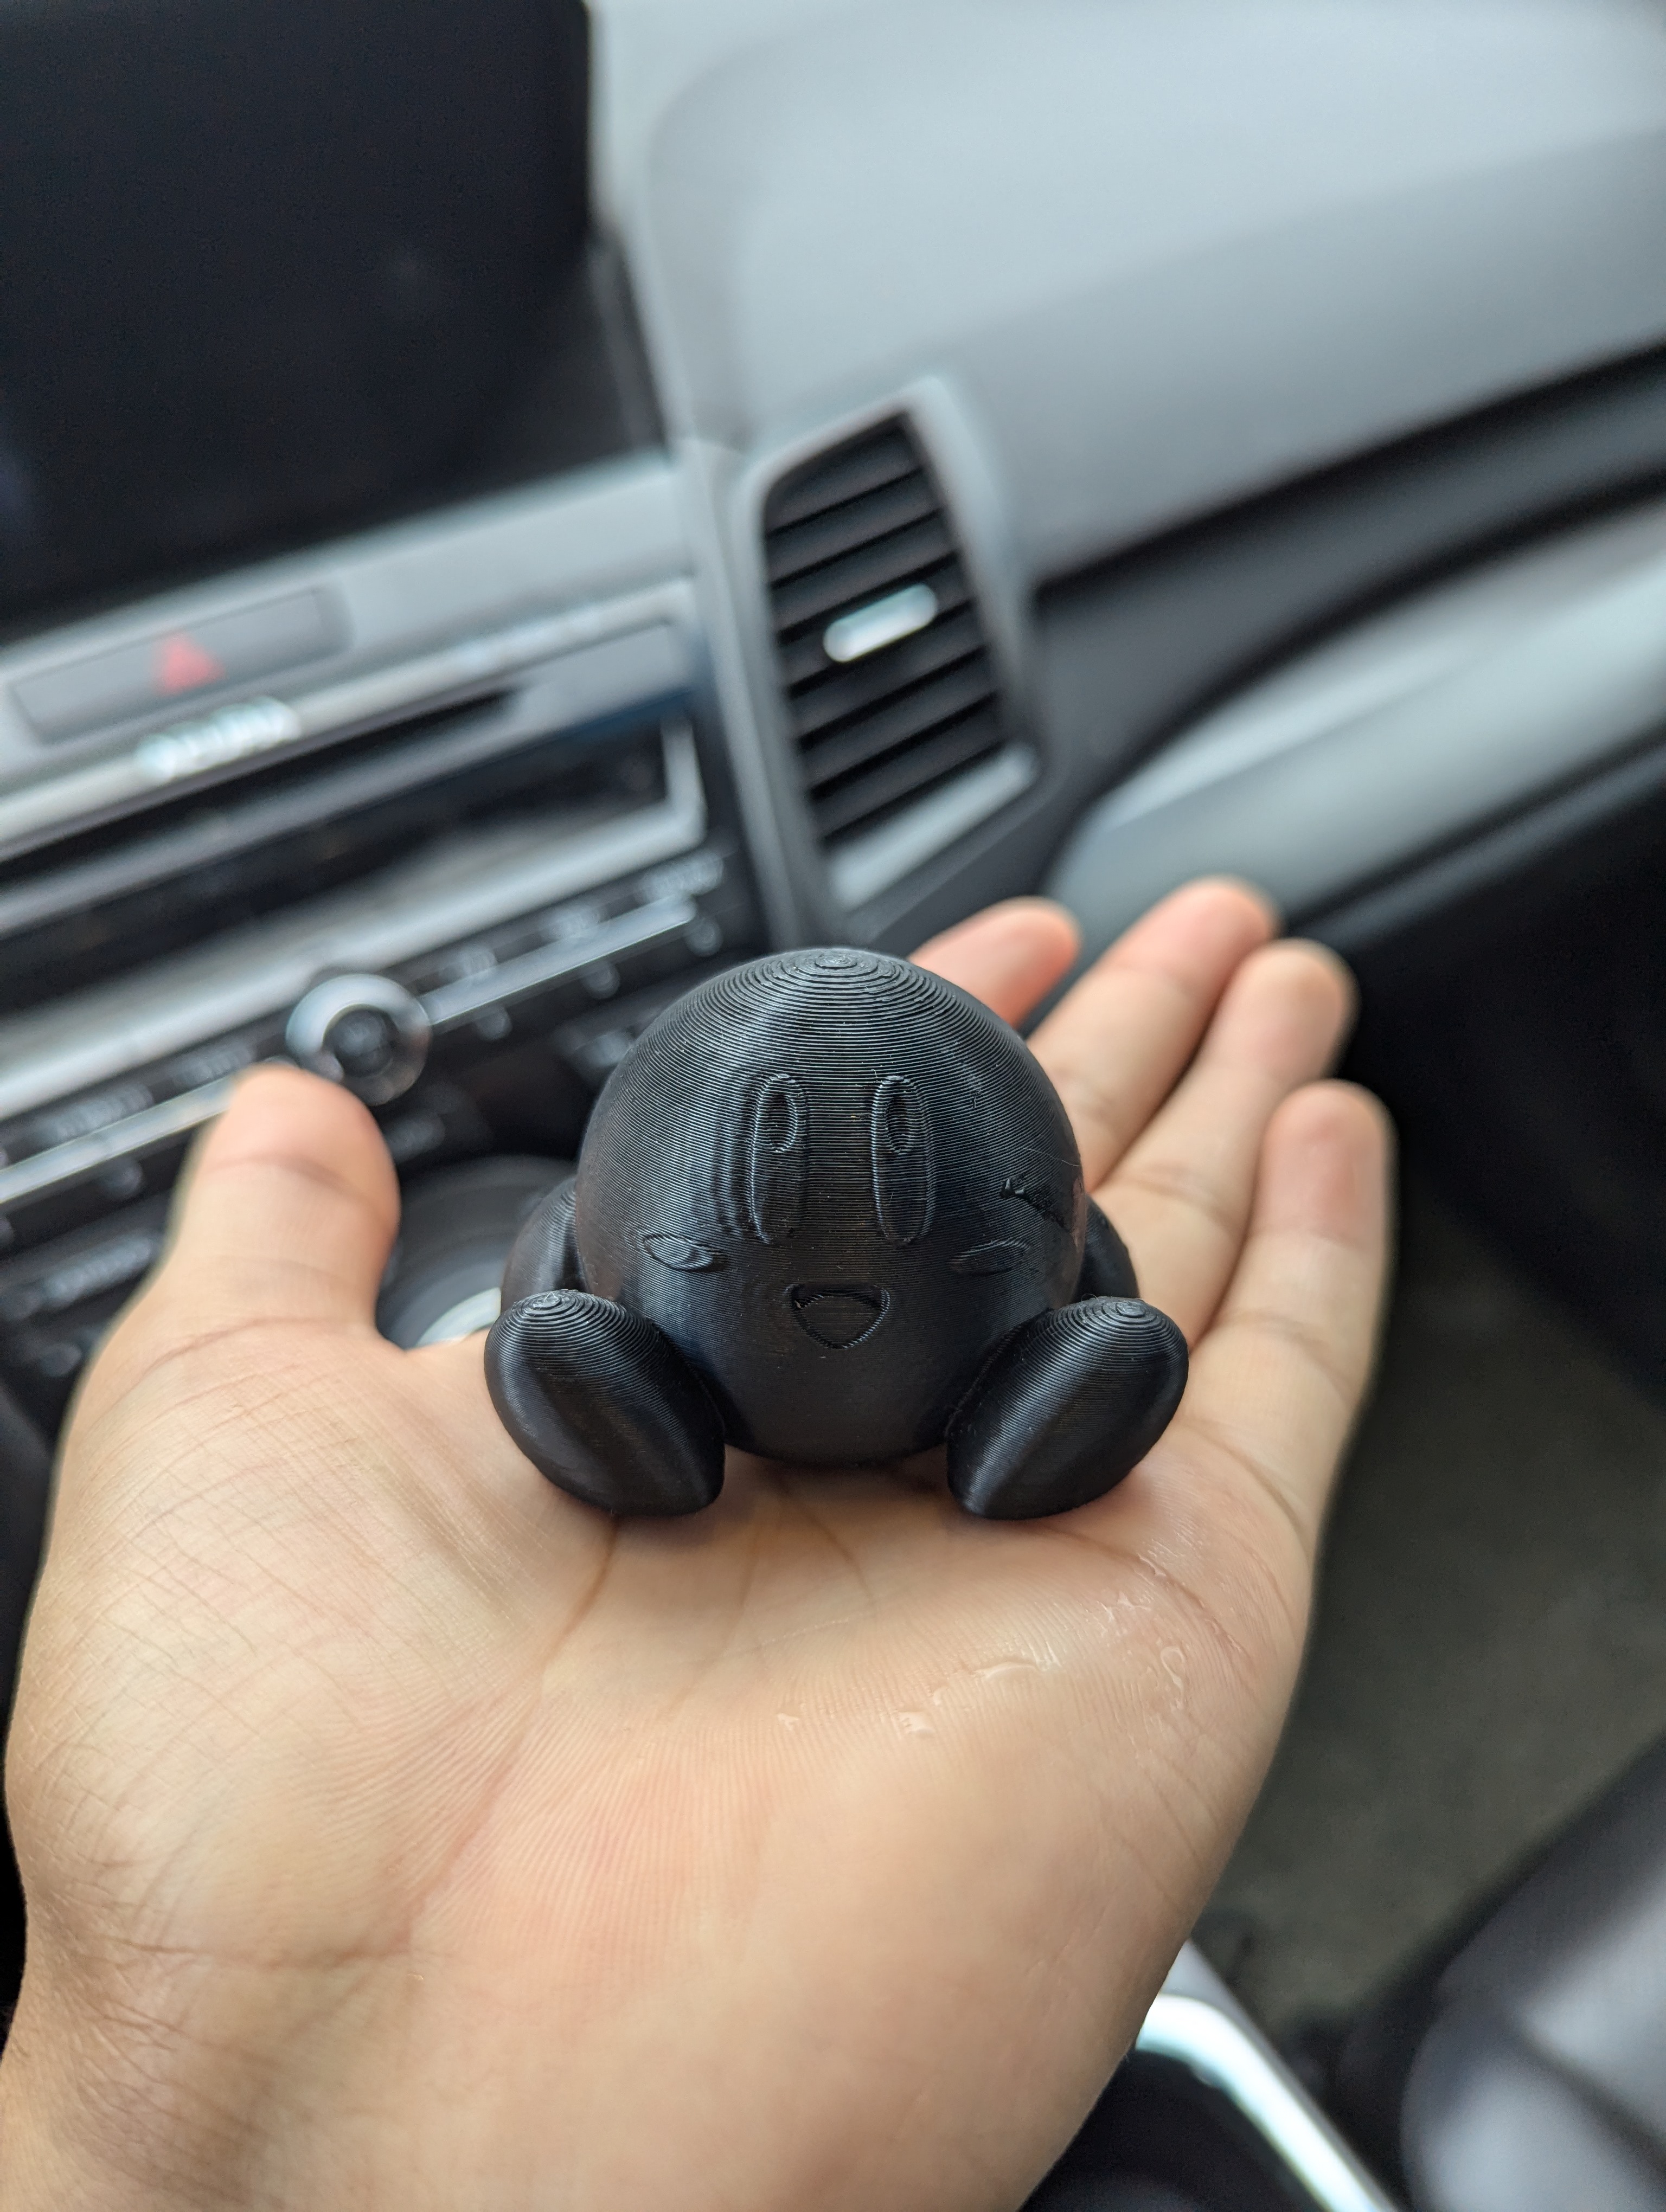
I think it looked turned out well! The back of the print had a strange pattern on it, but it wasn't a big deal. It was easier to use than a normal HP printer to be honest. Now that it worked, I immediately started downloading more fun models to print, including a [tensegirty structure], some [planetary gears], and a [phone stand]. This was cool but now it was time to actually try and CAD something. I opened up blender since I had used it a long time ago, and immediately got overwhelmed. Maybe I needed a more simple CAD tool. I did some research, and tried out TinkerCAD. It was appealing because it looked dead simple to use, and is made by the same company that makes AutoCAD, so I figured I could always graduate to that later if I really wanted to.
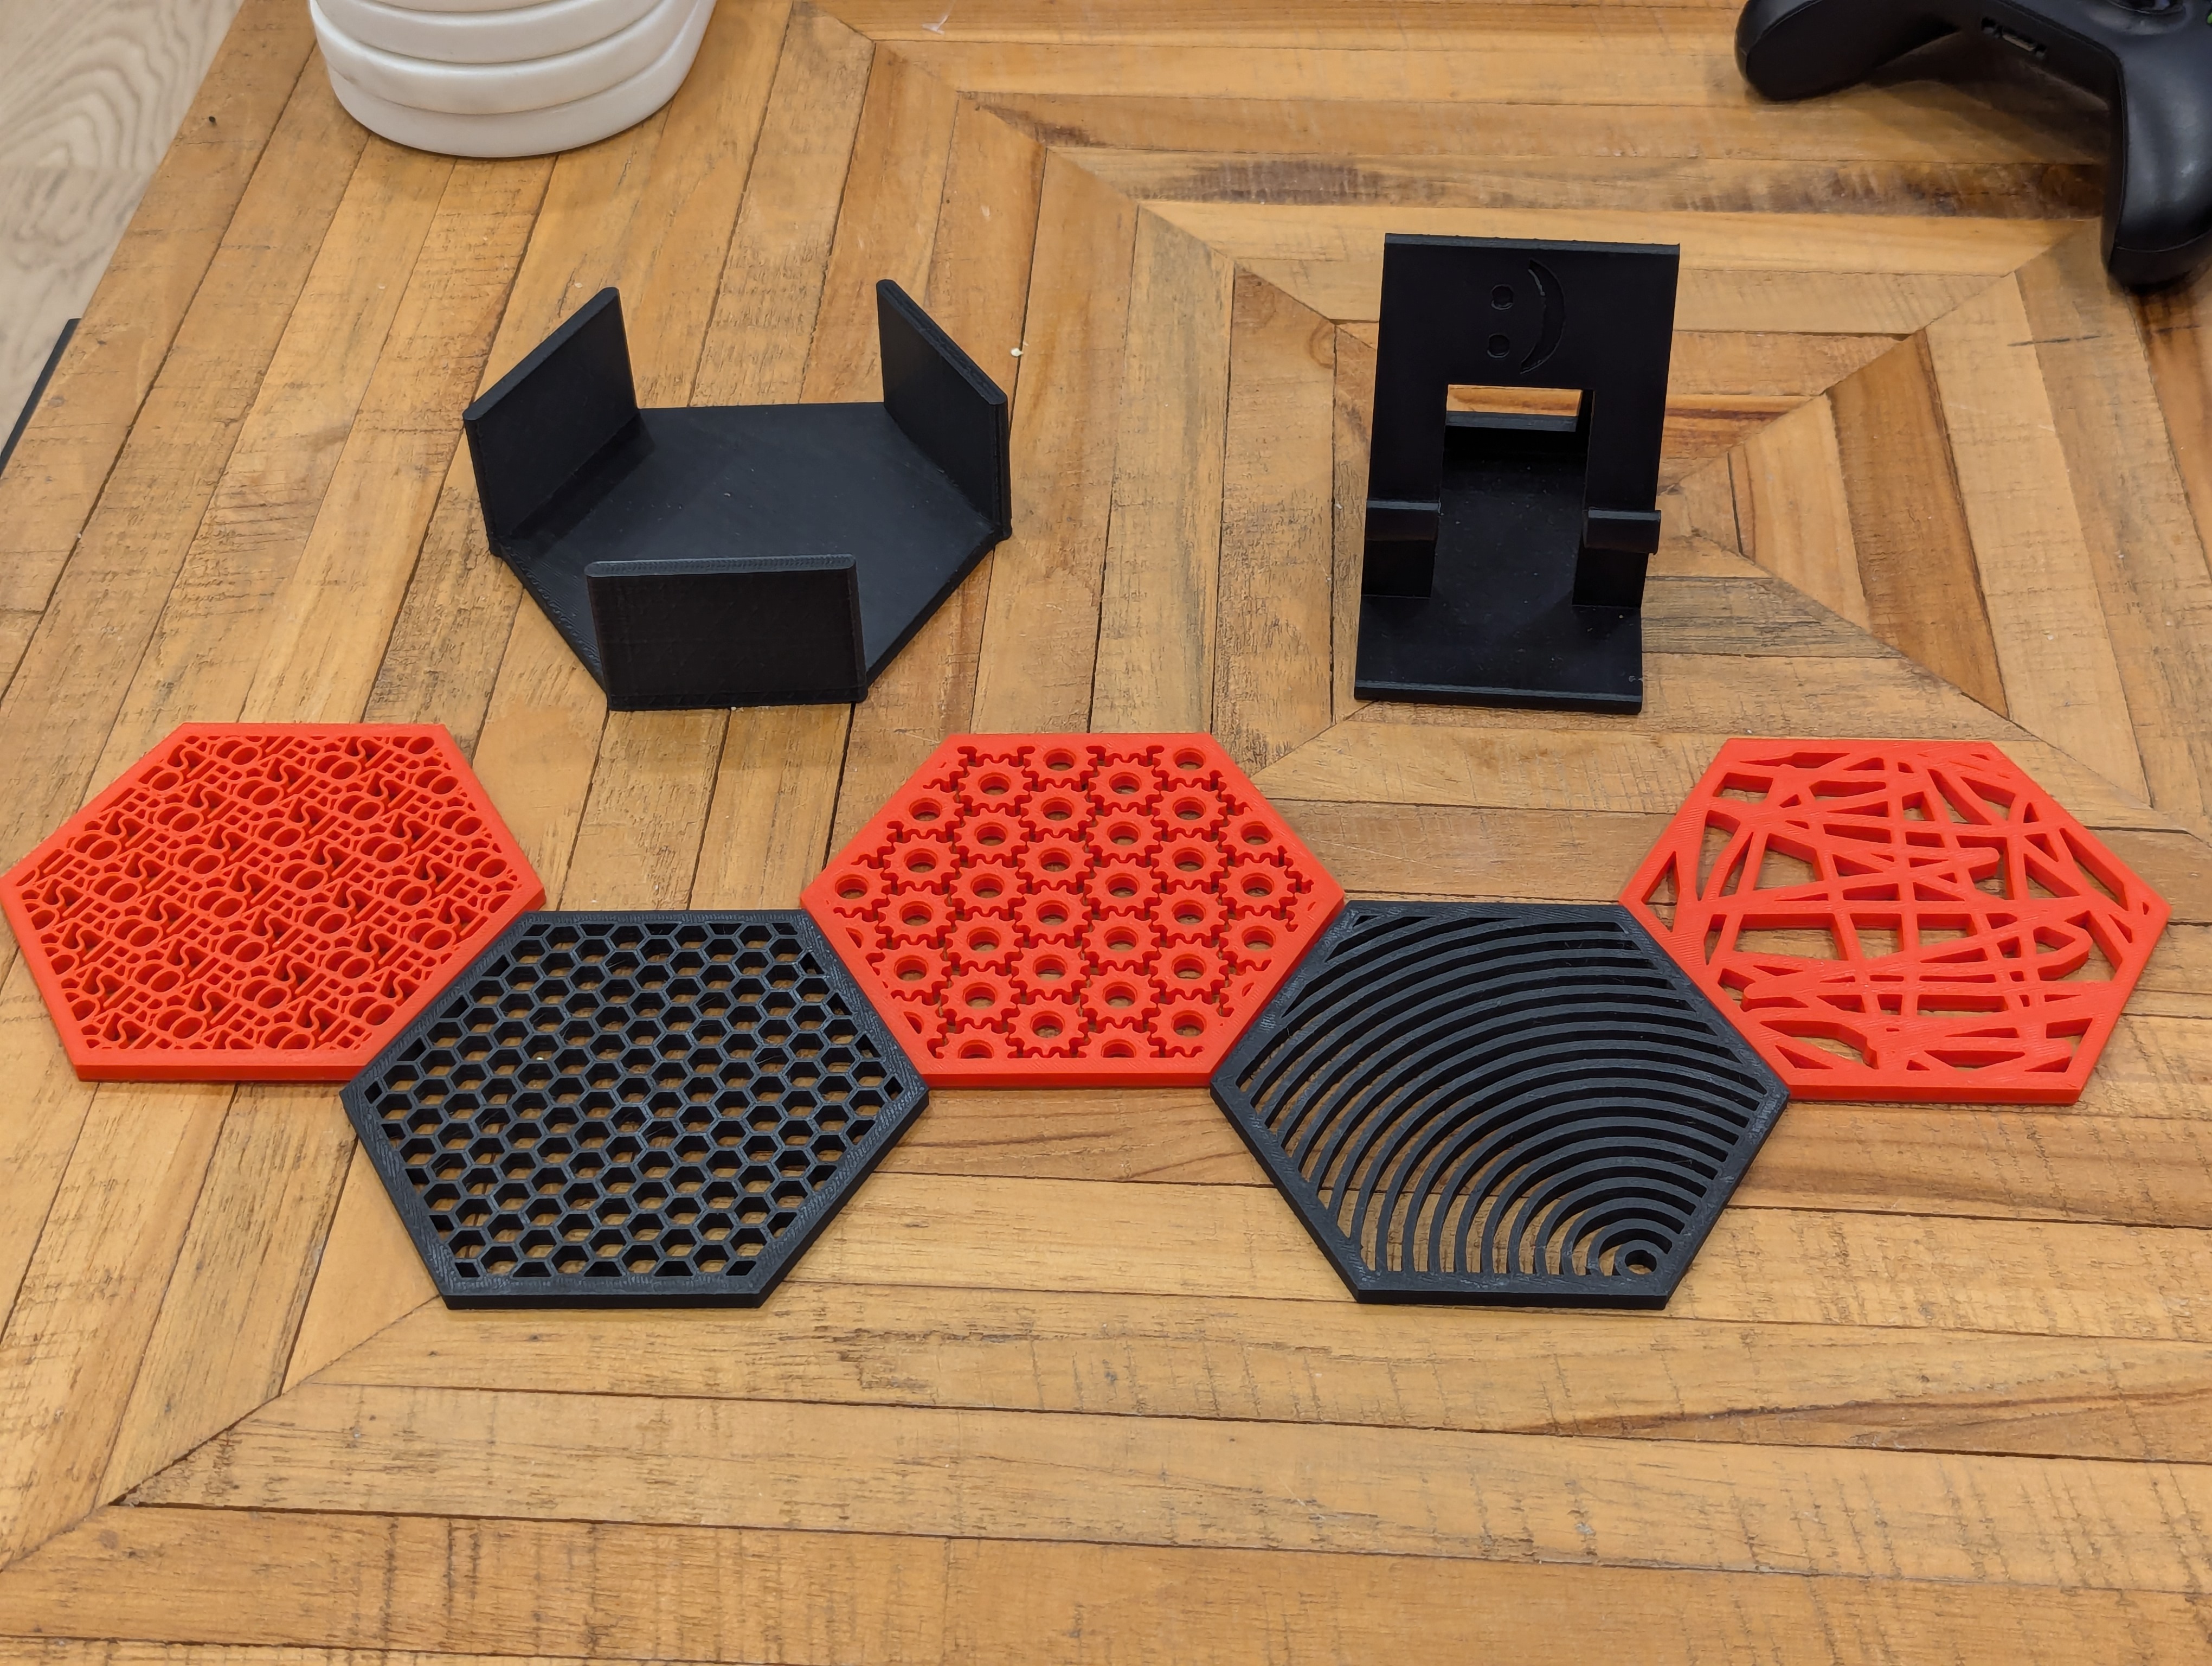
The first thing I tried to make was a phone stand that fit my specific phone better. Using the very intuitive tools in TinkerCAD, I was able to quickly make my own model and print it. The print turned out well, but I needed to make some changes to be able to have my charger plugged into my phone while keeping it in portrait mode. It was so cool to be holding something in my hands that I designed myself. My next thing I challenged myself to make was some coasters for my home office, along with a stand for them. This was fun because I got to experiment with more of the tools offered in TinkerCAD other than just pasting in cubes and cylinders to make my models. I think they turned out pretty well too:
Now it was time to actually make something difficult. I had stumbled upon a [honeycomb wall storage system], and I immediately fell in love with it. My office is always a mess, so anything that can help organize it is a no brainer. Designing this myself was pretty hard. I copied took heavy inspiration from the locking mechanisms and redesigned them to make them (in my opinion) better.
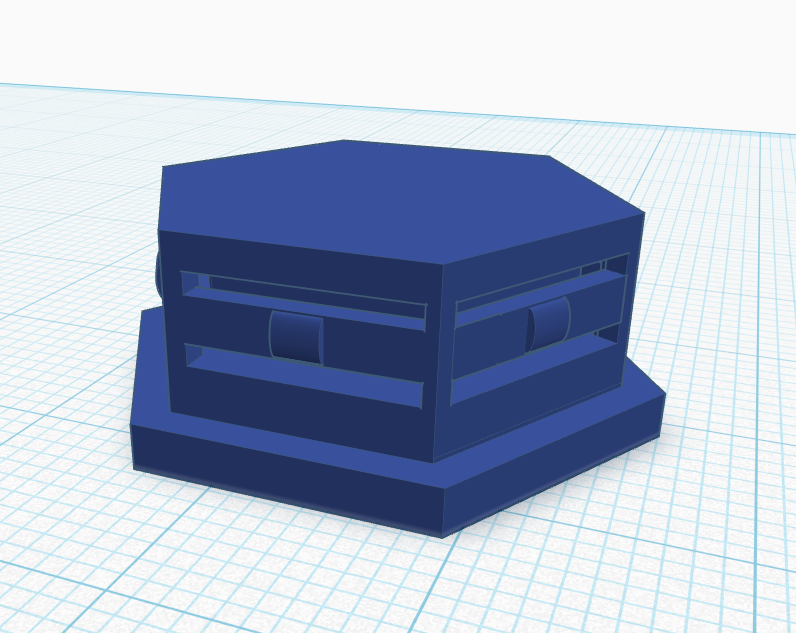
This is where I first ran into issues of using a budget and used 3D printer. Being lazy, I wasn't re-leveling the bed after everyprint, leading to my nozzle drifting closer and closer to the print bed. This made the base of my prints every so slightly thicker than it was supposed to be. This isn't a big deal for most things, but for parts that are supposed to snugly fit together it was a pain in the ass to fix. I when through a cycle of printing and making changes for a few days until I got a design I was happy with.
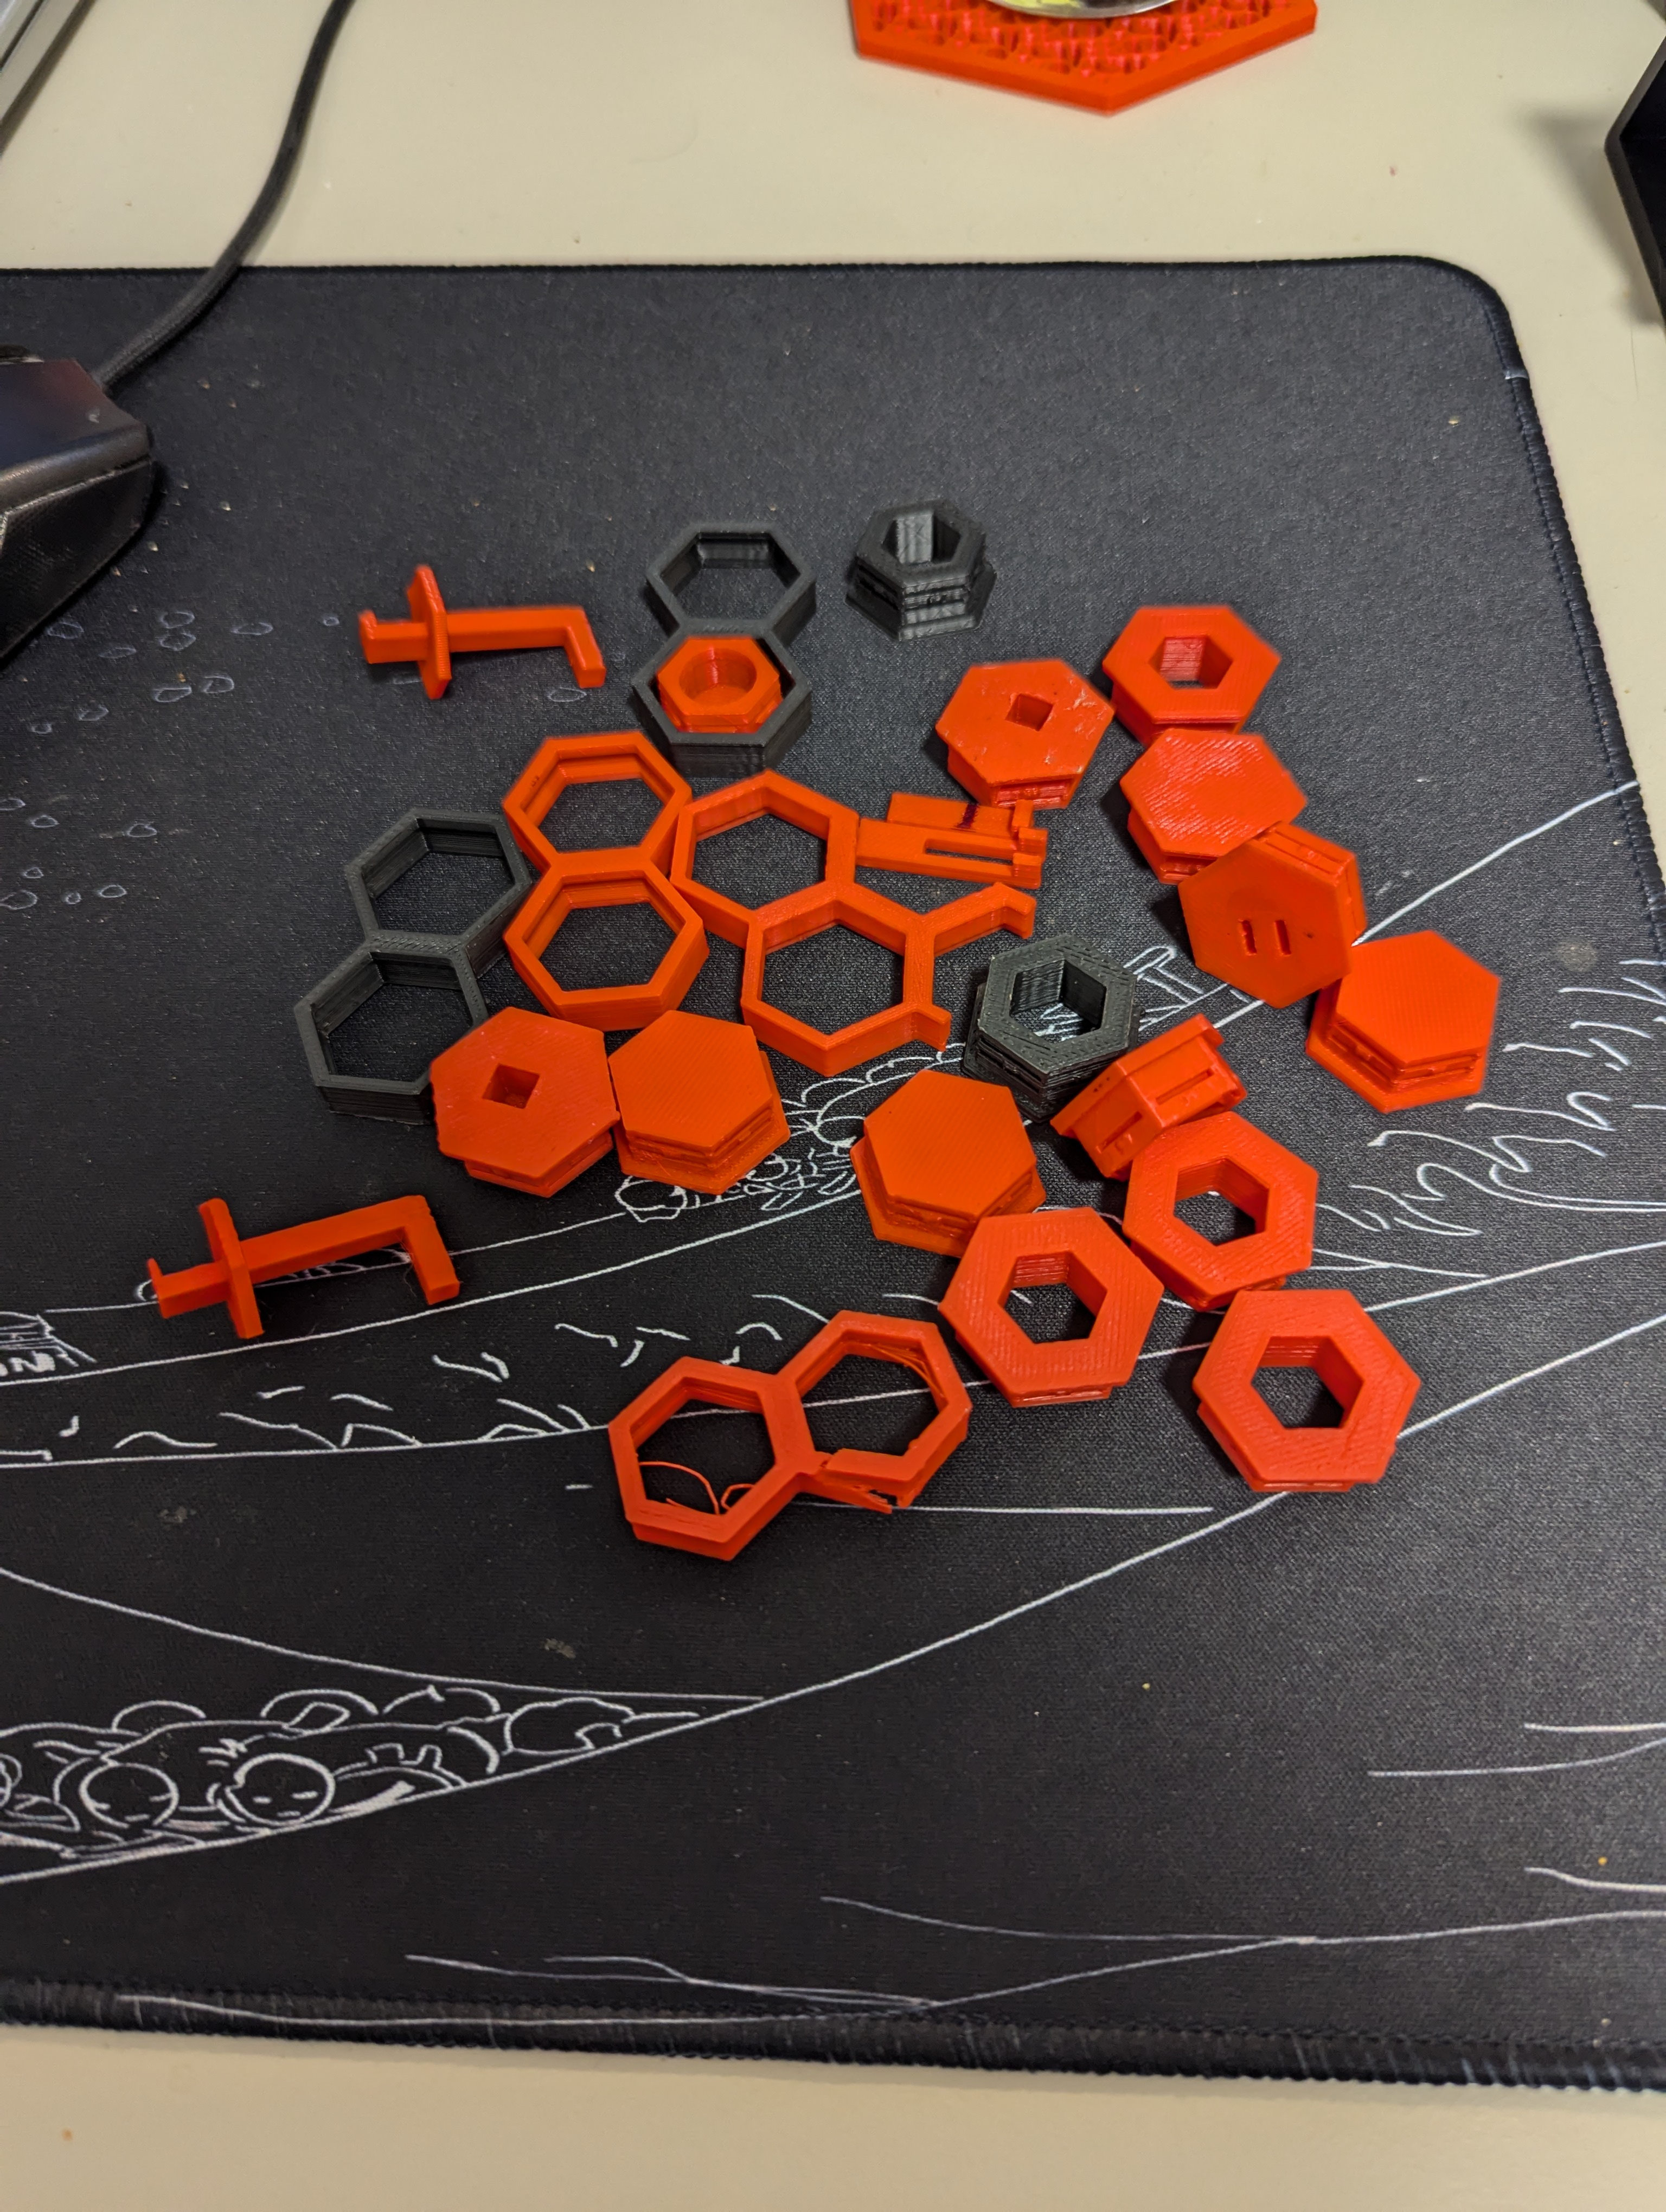
Now that I had all of the pieces designed and to the correct tolerances, it was time to mass print the honeycomb wall structure and other pieces. This is where I ran into more issues. While printing the large honeycomb structures, I would get a lot of print failures. Im pretty sure this has to do with the very precise and thin dimensions that I was trying to get. Not only would this happen, but for every failed print that I had to remove from the bed, I would slowly destroy it with the included metal scraper. By the end of it, I was having major adhesion issues. Instead of buying a new bed, I used a trick that I leaned from some mechanical engineering students in university: I covered the print bed in masking tape. This made the prints much more successful, but it was hell trying to get the tape off of the bottom of the prints. At the end, here is the final result:

I love how it turned out! I made the design very modular, so you can easily add more honeycomb panels or design more fixtures other than just hooks like I have so far.
I'd consider this a successful purchase, as now I'm able to create basic tools or prototypes for real world physical projects. However, I definitely ran into some roadblocks doing it the way I did. Using a used budget 3D printer came with its annoyances, especially when printing large or very precise things. The prints also took a LONG time, with one honeycomb panel taking ~12 hours to complete. Another limitaion that I faced was that TinkerCAD is quite limiting. Its good for very simple things, but lacking features that I though would be included in even the most basic CAD programs such as adding beveled edges. For the next complicated thing that I design, I will definitely pick up a different tool. But for the cost of this set-up (<$100 for the printer and 2 1kg spools of filament), I really can't complain at all. For anyone who does stupid little projects like I alwasy do, a 3D printer and knowing how to do basic CAD is a huge asset.